Every operation described in these API References has a Try It! button as seen below.
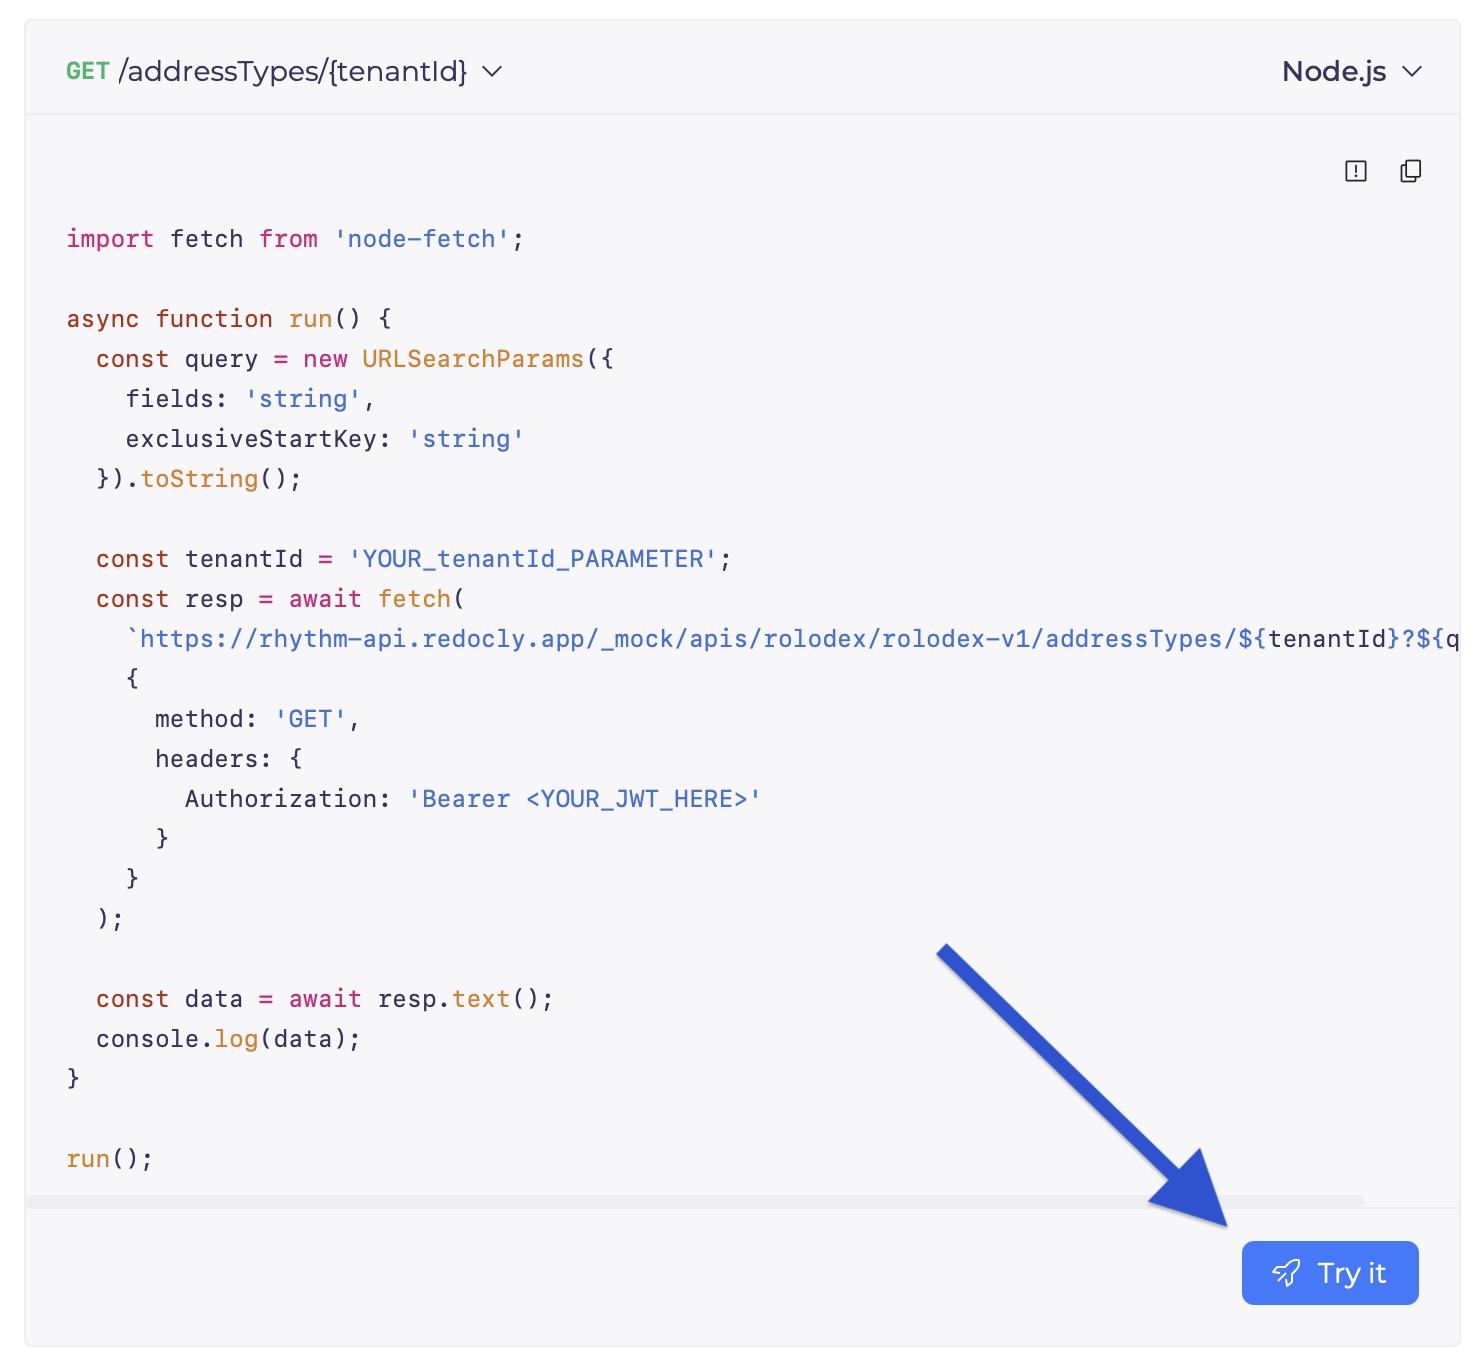
By default, API calls will be executed against the Mock server environment which will not create, update, delete, process, or return any real data. Instead, any calls to the Mock server will return sample JSON that mimics the structure you might expect from a live API call.
We suggest getting started by making calls to the Mock server and exploring the responses.
When you click on the Try It! button, you will see a popup window with a REST client where you can test API calls. You should start by selecting the {{tenantId}} variable and setting your Rhythm Tenant ID as seen below.
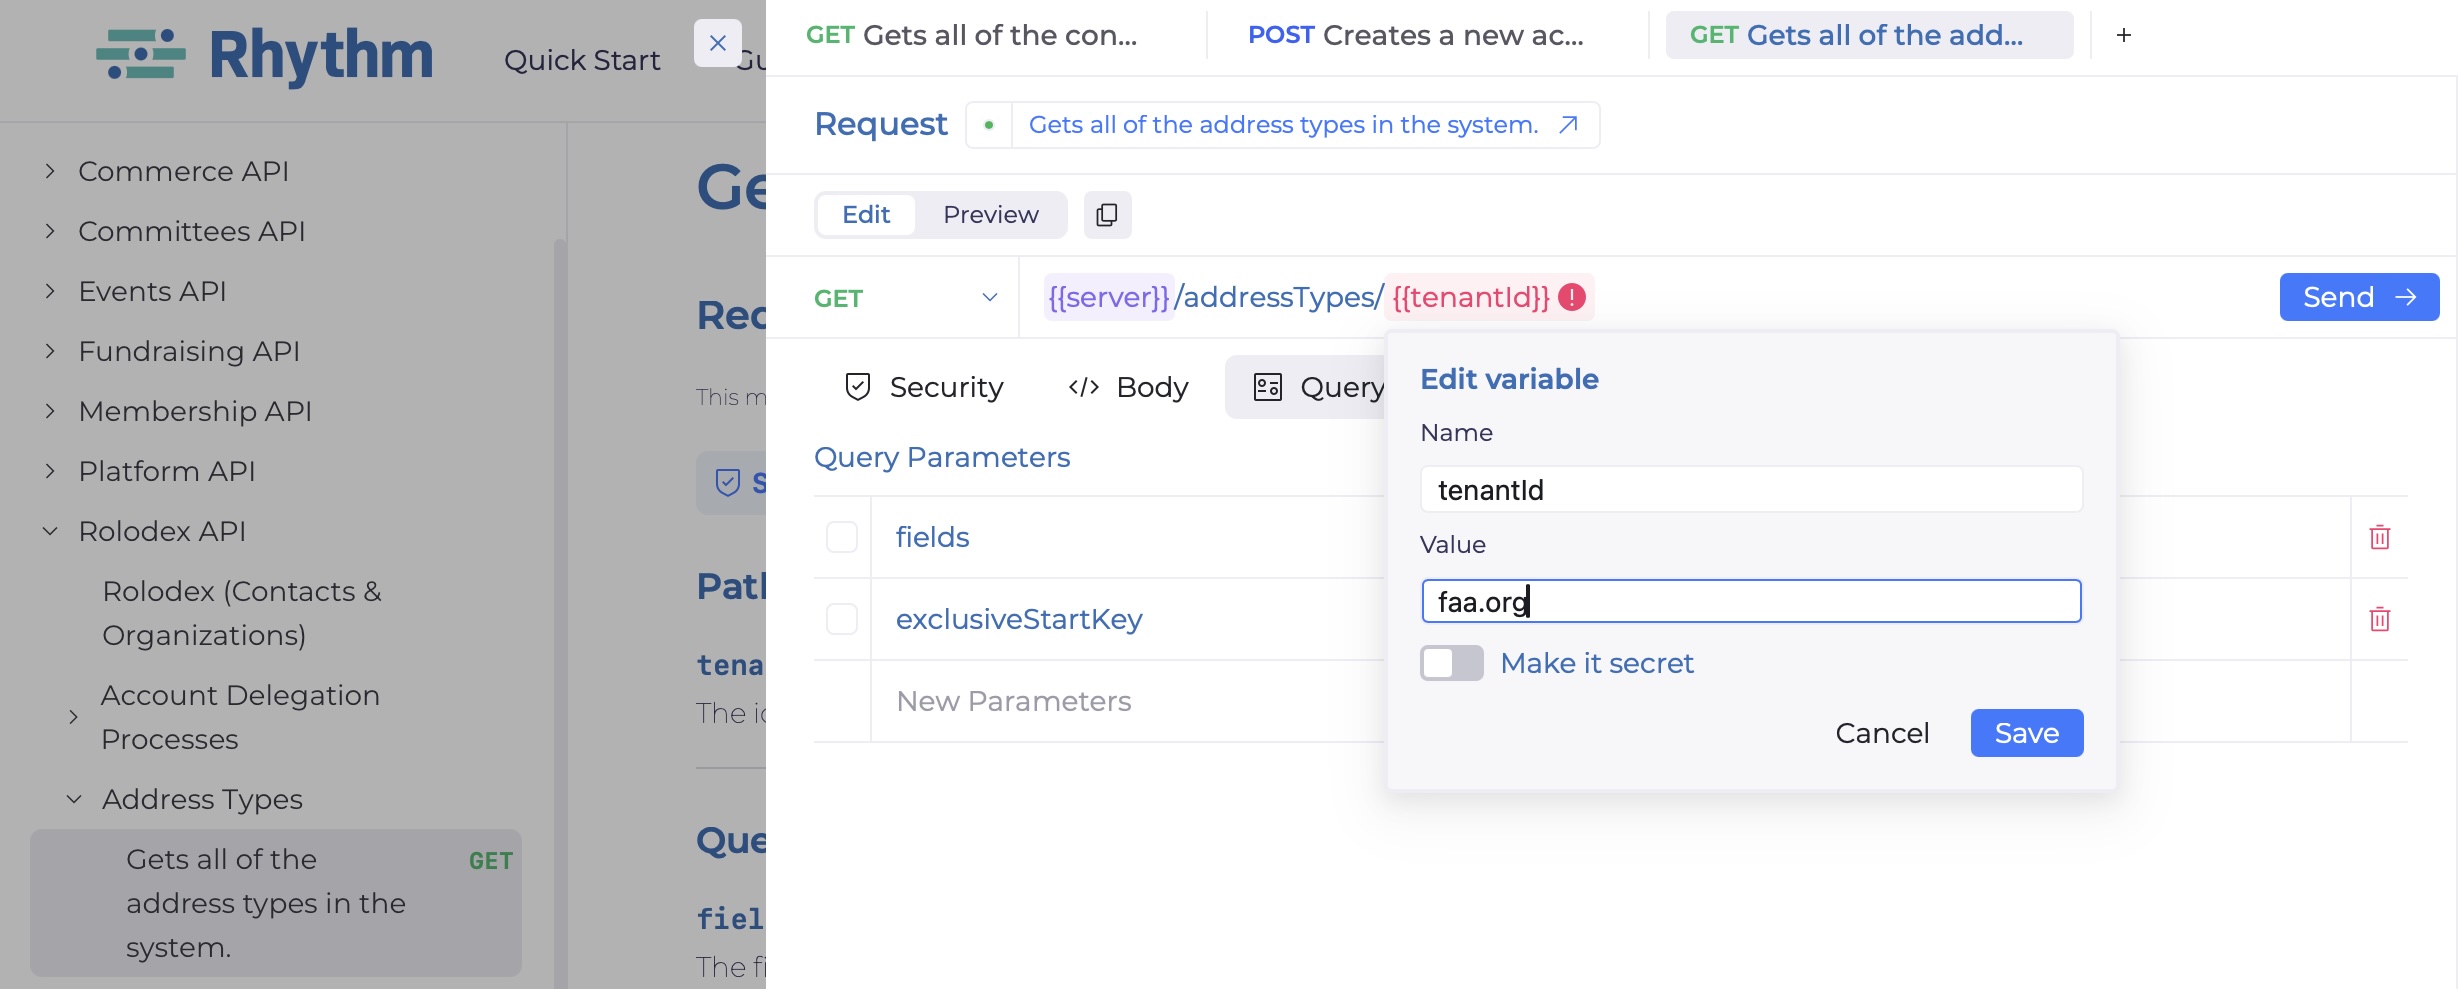
The REST client supports multiple environments. Each environment will send requests to a different host, either the Mock server or the Live API.
The active environment can be seen or changed in the upper right corner of the REST client. Variables are defined within the active environment. You can see or modify the variables for the active environment by clicking the Environments tab.
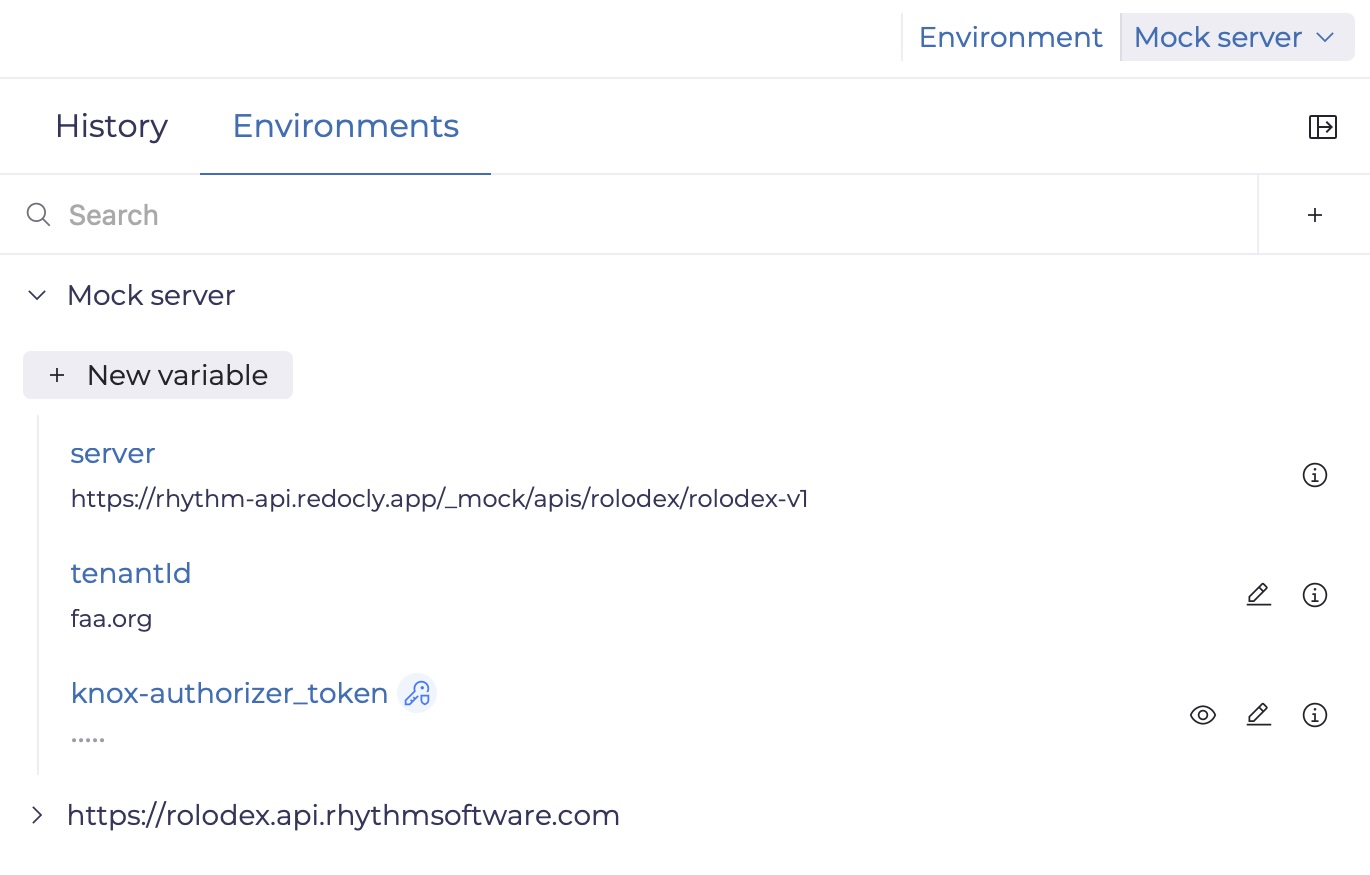
Since variable definitions are stored within the environment, you may need to re-set variables, including Rhythm Tenant ID, after changing environments.
If you would like to use the REST client to make calls to the Live API, select the Live API URI under the Environment drop down in the upper right corner.
To make calls to the Live API, you will need to generate an authorization token using the authorization flow that best matches your use case. For more information, see the Quick Start section about Authentication.
Next, confirm that the Authorization type is set to JWT by navigating to the Security tab. You can then add your authorization token value in the Bearer Token field by setting the {{knox-authorizer_token}} variable.
At this point, you should be able to execute a live API call.